Posted on

Top Tip: Miss Vivi’s essential guide to preparing brains for the classroom

ovine brain poached in the microwave how to prepare brains for the classroom

ovine brain poached in the microwave how to prepare brains for the classroom

I am getting questions about prepping brains for the classroom so here are my Top Tips.

There is not much point putting brains into the classroom unless they have been prepped. You just end up with a pink puddle of mush.
My preference is at least 24 hours in 50% alcohol from frozen. They will float so you need to turn them over periodically or fill a container to the brim and put the lid on them to keep them submerged.

Saturated salt solution works well, too, but I am too lazy to be bothered making it when I can just dilute a bit of metho.

Patricia Hugman developed this 1 hour method that she swears by and gave it to me to put on the website. Don’t be stingy with the salt. Really load them up.
https://dissectionconnection.com.au/top-tip-how-to-defrost…/

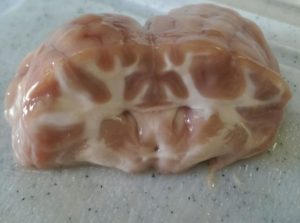
I heard that you can microwave brains to firm them up. This one in the picture has been subjected to 1min 30sec in water in 10 sec blasts.  It was ONE brain in a container. If you are going to do more then you will have a bigger container, more water and more brain so you will have to fiddle with the timing a bit.

I do know people that freeze them on a tray and deliver them to the classroom that way so they defrost during the dissection. I haven’t tried it but I can see how it would work.

Good luck! Terrible things, brains.

post by miss vivi at dissection connection

Posted on

From snout to tail: teeth for experiments

Image by artur84 at FreeDigitalPhotos.net

I have prepared these piglet teeth and bones which should do the trick for teeth experiments. These are from the upper jaw and I have also cleaned up the lower jaws.  If you are in need of some let me know what you are looking for and we can work out a price based on what you need. Don’t forget you can always harvest the teeth from your own piglet specimens as well.

We do also sometimes have human teeth that have been autoclaved and are in steripacks for $2 each.  Drop me a line and I’ll let you know what we have in stock.

post by miss vivi at dissection connection


15 Sept 2016

Posted on

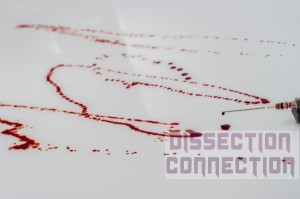
How different surfaces effect blood spatter patterns

simulated blood available at dissection connection

View post on imgur.com

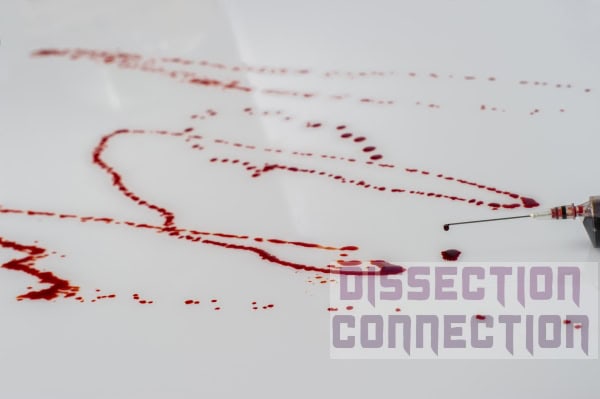
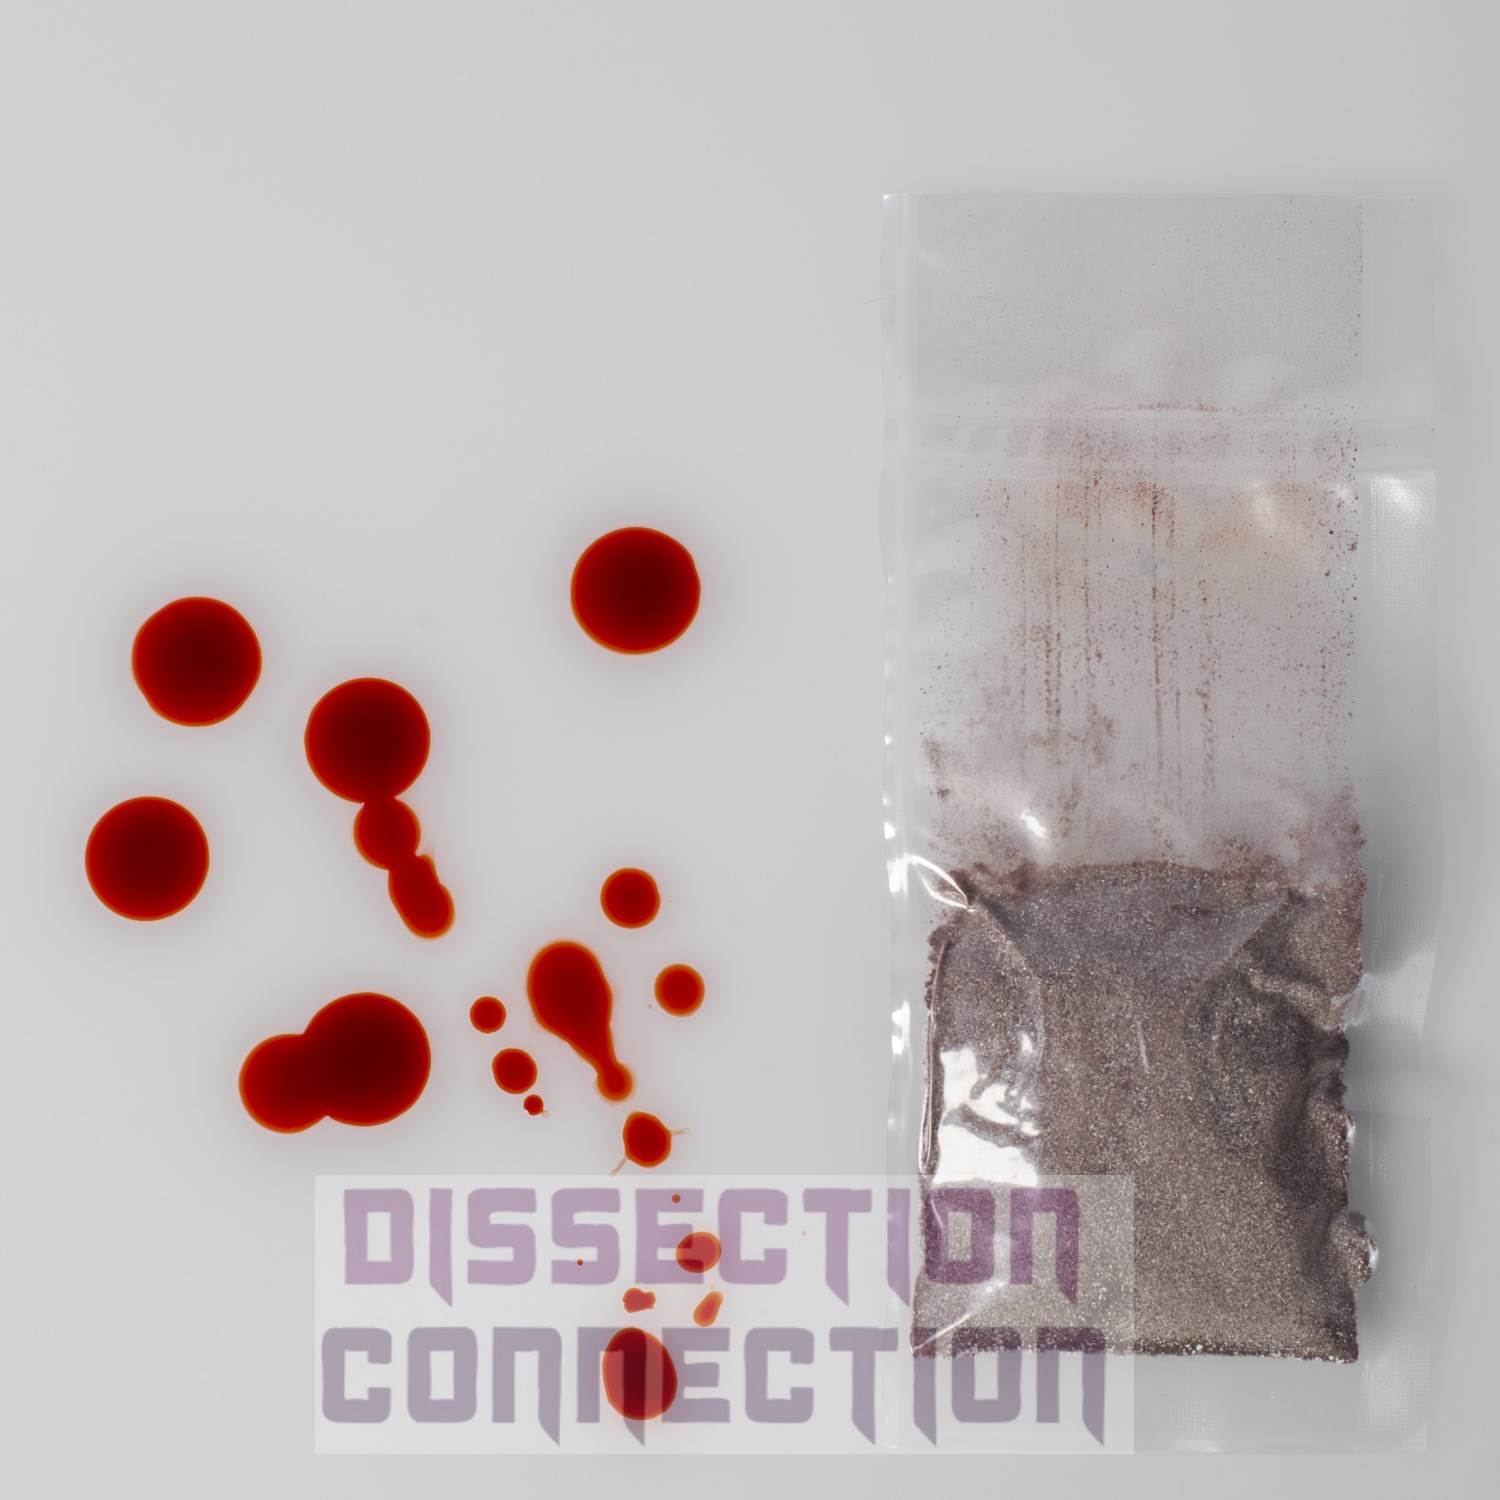
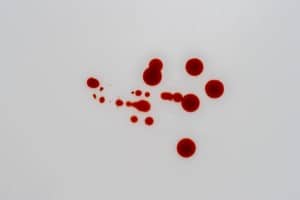
I wish I could say that I had put together this gif myself using our simulated blood powder, but I was pointed towards it on Twitter this weekend. It’s going to make a great prac in your classroom, though. Let me know if you need a blood powder top up. One sachet makes a litre so it lasts for ages.

post by miss vivi at dissection connection


9 Feb 2016

Posted on

Top Tip: Simulated Blood Powder Preparation

SIMUBLOOD2

To make up the solution, introduce 500mL of hot water into a beaker on a
magnetic stirrer.  Add the powder and leave to stir until it is all dissolved.

To test for complete dissolution scrape a bit up the side of the beaker using a
spatula. If the powder is not fully dissolved you will see small dark spots in the
liquid.

The sachet contains enough powder to make 1L of solution, but when I made
up a sample I dissolved the powder in 500mL and I thought the consistency was
just right.

When the powder is fully dissolved make the solution your desired consistency
by adding more water to a maximum volume of 1L.

To add ‘blood clots’ make a batch of port wine jelly and freeze it. Break up the
frozen jelly into pieces and mix with the artificial blood solution.

The solution is based on methyl cellulose so it’s probably best stored in the
fridge.

This product is sold as blood simulant for medical training centres and also as
stage blood. Mr Vivi put a dollop on the back of his hand and it stained him for
a couple of days.

Here’s a brilliant, very easy blood spatter experiment you can do without having to pull special equipment together –>>

DC2013_060

trans_signature